On this page you'll find the tools you require to optimize images on your site.
When images are optimized JCH Optimize will replace the original images with the
optimized images and the original images will be backed up in the
/images/jch_optimize_backup_images/
folder. The names of the images will correspond to their original locations with "/"
converted to "_" and "_" converted to "__" so an original image called
/images/path/to/original_image.png
will be saved as
/images/jch_optimize_backup_images/images_path_to_original__image.png. This
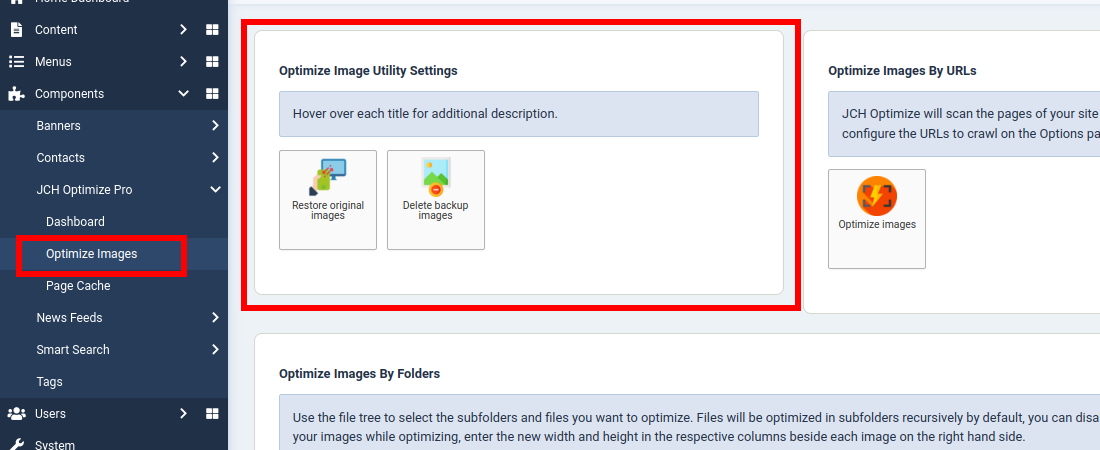
section provides utility icons for managing these images.

- Restore original images
-
If you're not satisfied with the images that were optimized then you can restore the original ones by using this button. This will copy the images that were backed up over the optimized image in their original location. Any WEBP image that was generated for this image will be deleted.
- Delete backup images
-
This will permanently delete the images that were backed up to reduce space usage on the server..
![[Important]](data:image/svg+xml;base64,PHN2ZyB4bWxucz0iaHR0cDovL3d3dy53My5vcmcvMjAwMC9zdmciIHdpZHRoPSIzMiIgaGVpZ2h0PSIzMiI+PC9zdmc+)
Important There is no way to undo this so be sure you're satisfied with the optimized images before clicking this button.
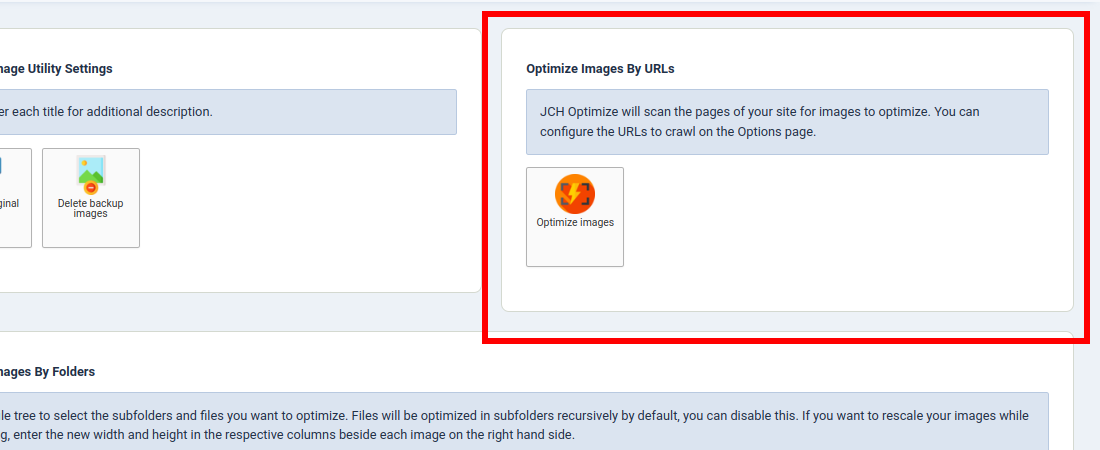
Click the Optimize Images button in this section to initiate this task. It will scan the pages of your site to find the images to optimize and replace the original images with the optimized images. By default, the crawl will start from your home page and extend based on the options set on the Options page. You can configure the base URL of the crawl as well as the number of URLs that will be crawled.

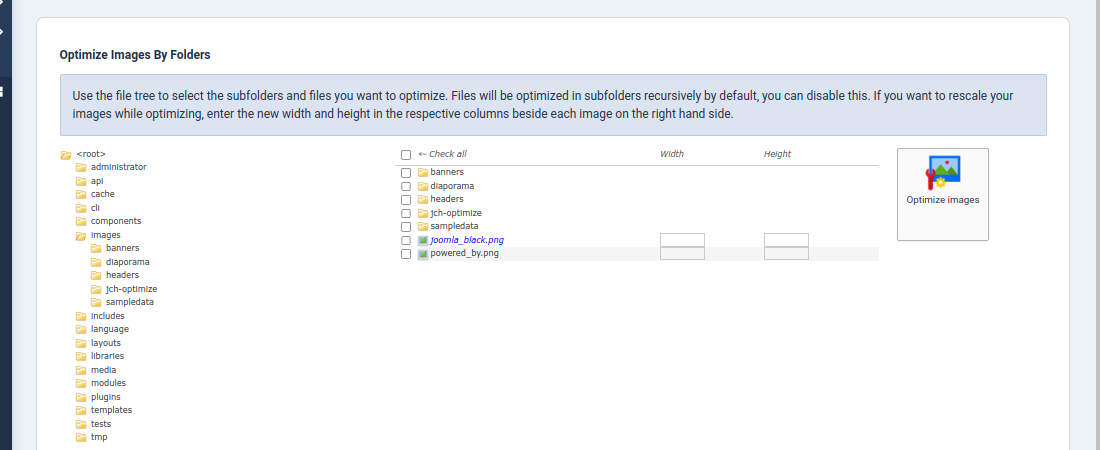
This option provides a folder/file tree of all the folders and images files found under the root document of your site. By navigating the tree you can select the images or subfolders containing the images that you want to optimize. The names of the files that have already been optimized appear in blue italics.

